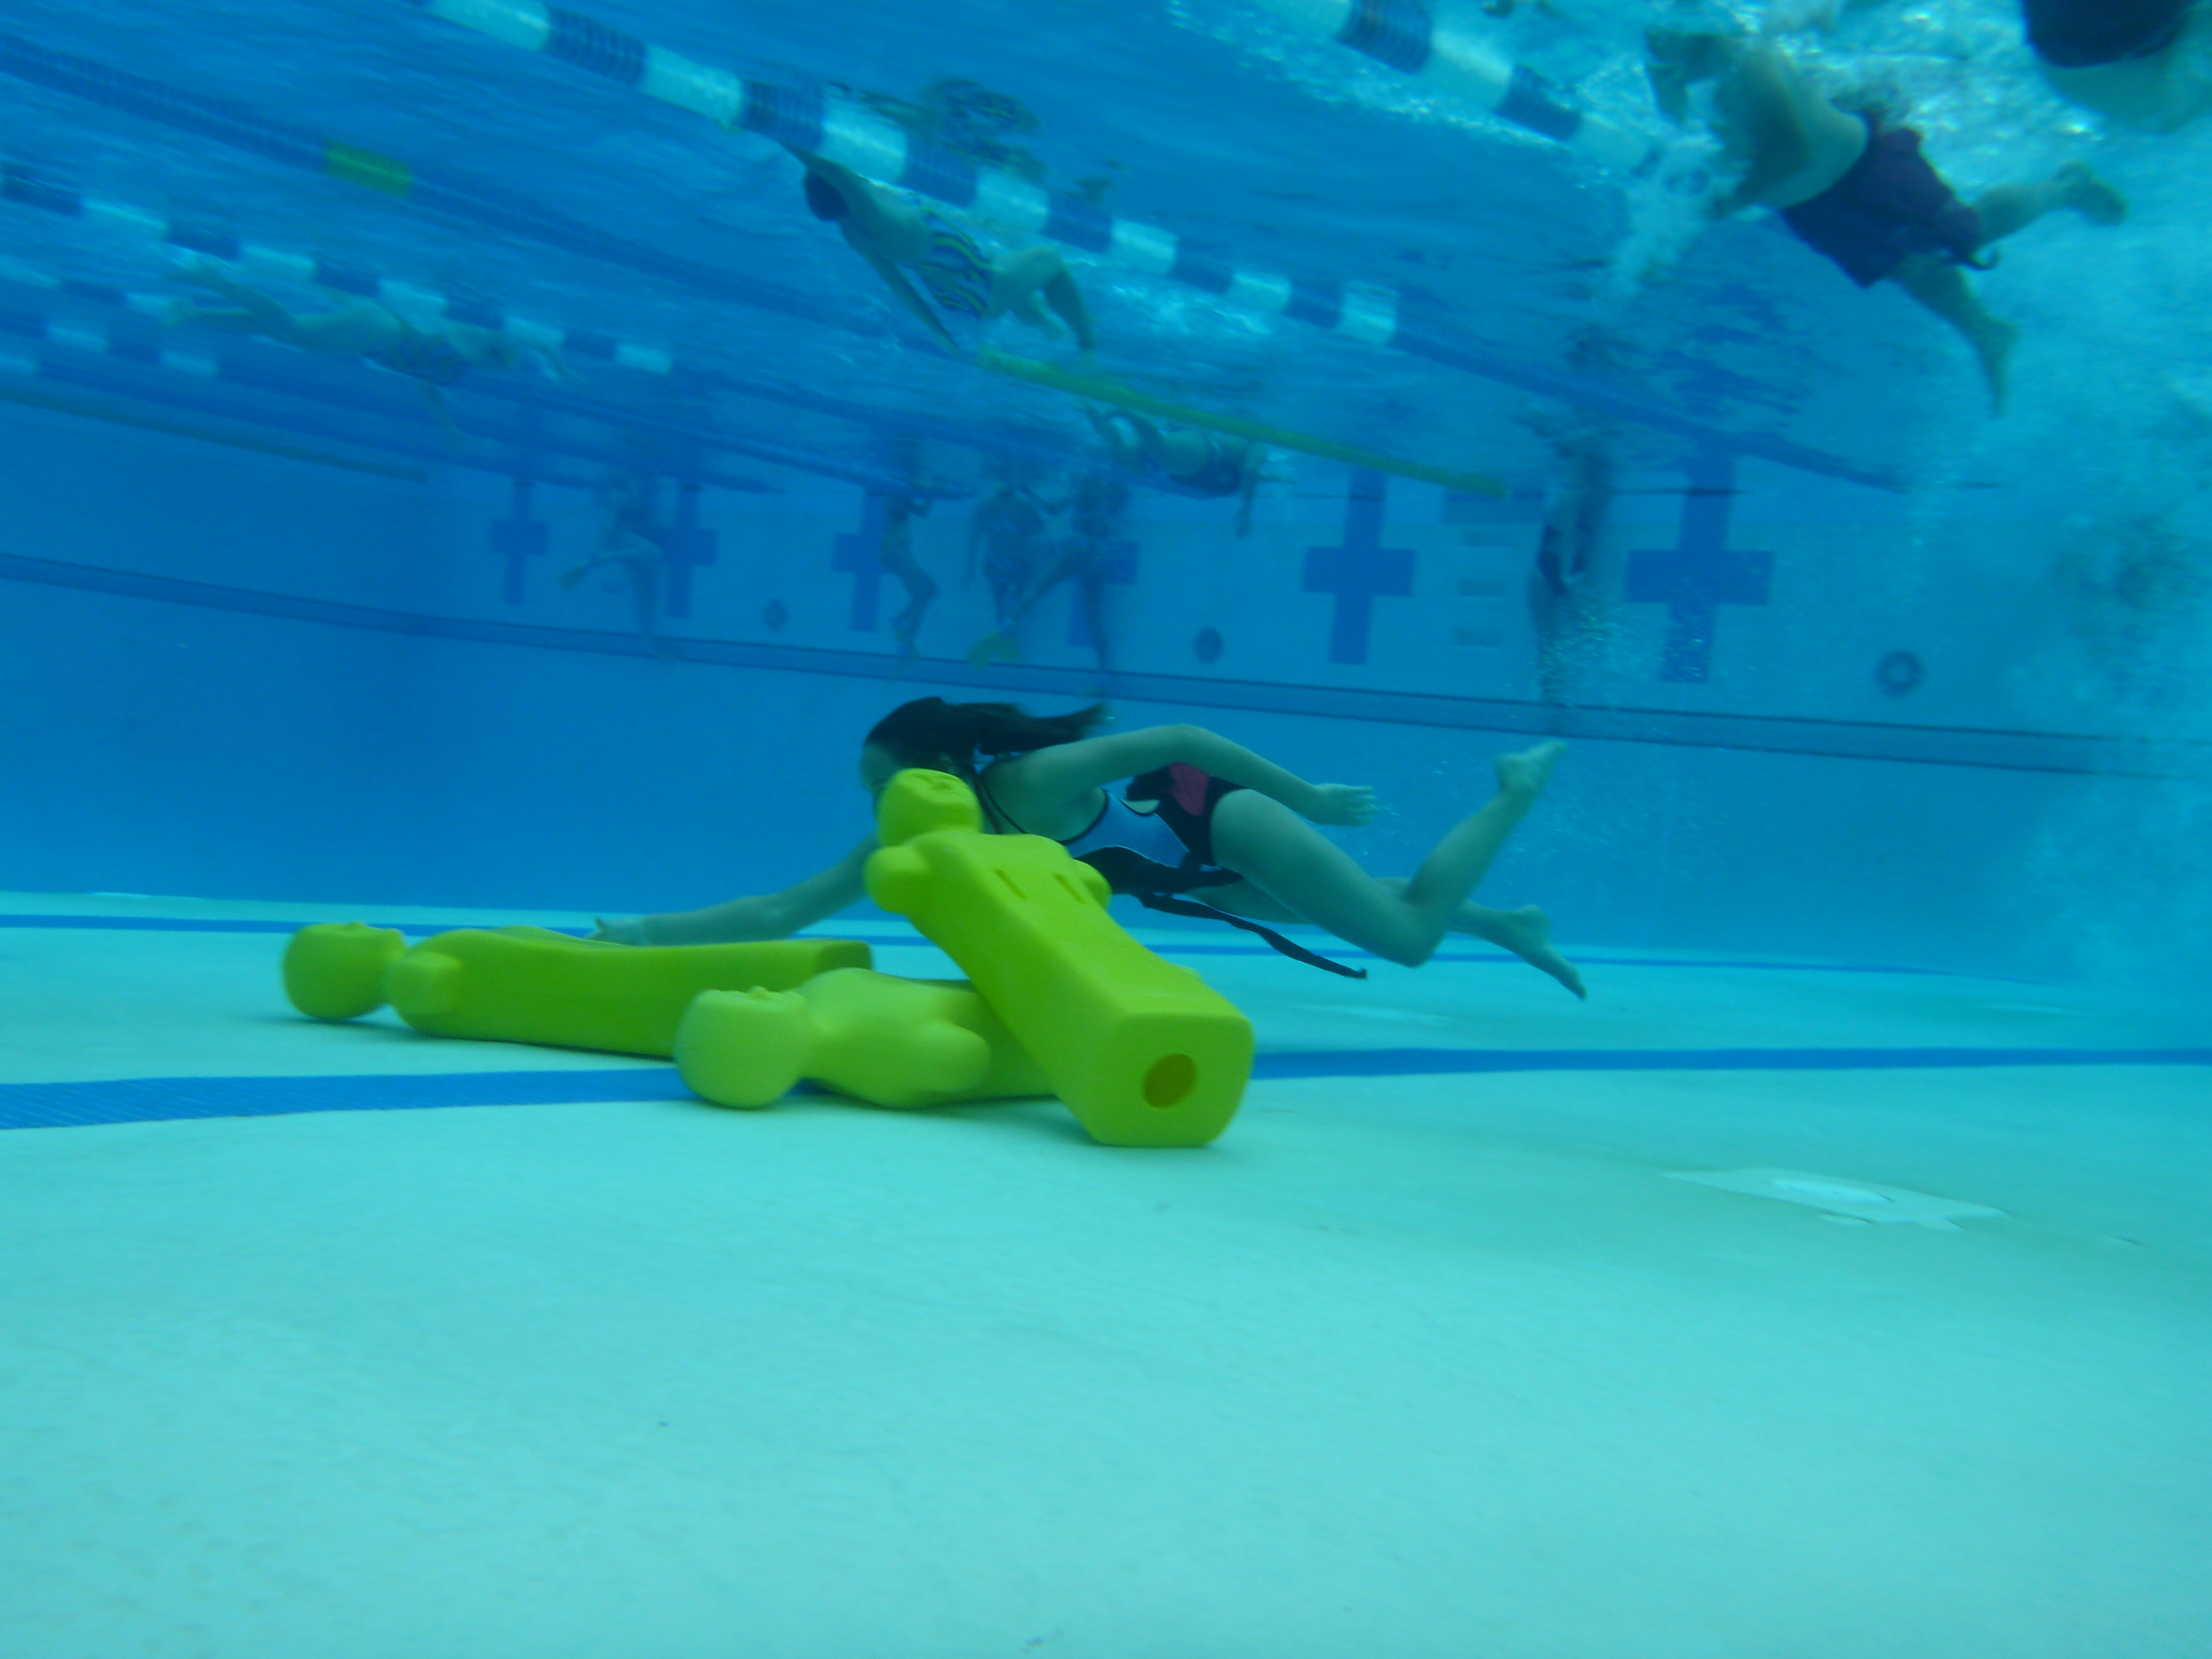
I’ve long felt that moderate-depth rescues do not receive enough attention.
I touched on this in a 2014 column I wrote, “Anatomy of the Passive Victim Rescue,” which addresses shallow, moderate-depth and deep-water passive victim rescue drills.
Lately it has become even more important to master moderate-depth rescues. This need has increased with the rise in pools specifically designed for water polo. Most water polo games and practices take place in pools ranging from 5 to 12 feet deep. When I discuss moderate-depth rescues, the range is 5 to 7 feet.
Perhaps because of this, the American Red Cross this year included the procedures for moderate-depth rescues in its 2024 Lifeguard Manual.
Let’s review what aspects need to be emphasized in an in-service training on submerged rescues, in both shallow and moderate depths.
The progression
As I’ve said at many trainings and workshops, the goal is to stop the drowning process.
When we look at a submerged rescue with no indications of head, neck or back injuries, lifeguards should prioritize getting the victim’s airways (mouth and nose) above the water to stop the drowning process. We need to do this as quickly and safely as possible. Remember: If the victim is on the bottom of the pool, not moving, this is an aquatics emergency. Make all efforts to quickly get the victim to the surface — using multiple lifeguards to quicken the rescue and initiate patient care. If you can only grab the victim’s arm or leg, do it. Timeliness is crucial.
The hope is that the rescue takes place so quickly (within 5-10 seconds) that the victim will begin spontaneously breathing once their head goes above water. If they don’t, then the lifeguard places the airway in an open position on a rescue tube. If the victim still does not begin breathing (and perhaps there is a delay in extrication), the lifeguard performs in-water ventilations, hoping to trigger the victim into breathing again. In the first chart, you’ll find a quick summary of the rapid rescue for passive submerged victims.
In past issues of AI, you also can find in-service training for shallow-water rescues and deep-water rescues — both solo and multi-lifeguard.
Moderate depth adjustments
Here is a summary of some moderate-depth challenges your lifeguards will encounter:
• The lifeguard could be standing with the victim — a common method to get the victim’s airways above the surface of shallow water — and potentially find their own airways underwater.
• The lifeguard must be able to hold their breath when making a submerged rescue.
• The lifeguard will need to able to bring the victim to the surface without the aid of the rescue tube; the length of the towline is too long to utilize the buoyancy of the rescue tube as a means of assisting of getting the victim to the surface.
In developing an in-service for moderate-depth rescues, train lifeguards on the following:
• Entries, specifically pencil dives for moderate depth;
• Bringing the submerged victim to the surface quickly (start with manikins);
• Emphasize, “Grab a part, any part,” to get the victim quickly to the surface;
• Multiple lifeguards responding to both the water and land portions of the rescue.
NOTE: For shallow- and moderate-depth submerged-victim rescues, consider training staff on using a passive front rescue as another technique for making initial contact. If the victim is face down and the lifeguard approaches them from the front, the lifeguard can easily submerge and grasp the victim’s opposite arm and twist them as they rise to the surface, securing them on the rescue tube. This takes practice but is effective.
PASSIVE SUBMERGED VICTIM RESCUE, Moderate-DEPTH DRILL: Have a submerged manikin 2-3 feet from the side of the pool. Lifeguards will start on the deck without a rescue tube.
Objective: Guards enter the water quickly and safely, grab the manikin and bring it to the surface.
Timing goal: 5-10 seconds.
Once proficient, incorporate this progression:
1. Use a pencil dive to enter the water.
2. Use a pencil dive to enter the water with a rescue tube.
3. Change out the manikin with real victim, make the rescue with no rescue tube.
4. Make the rescue with a rescue tube.
5. Move the victim 10 feet away from the side of the pool.
6. Make the rescue. Once reaching the surface, the victim begins to breathe.
7. Make the rescue. Once placed on a rescue tube, the victim begins to breathe.
8. Make the rescue. Once placed on a rescue tube and given in-water ventilations, the victim begins to breathe.
9. Add an additional lifeguard responding to the submerged victim, (REPEAT #6-9).
Mistakes to look out for
The trainer’s critical eye is needed so participants don’t make mistakes that could delay or compromise care. Here are some errors you might see:
Lifeguard fails to get to the bottom quickly.
Lifeguard treats the victim as if they have a suspected head, neck or spinal injury.
Lifeguard fails to get victim to the surface.
Lifeguard fails to open the victim’s airway.
To make the 30-minute in-service compact and effective, plan on using the best setting at your facility. Make sure you have enough equipment and manikins. Remember: Less talk and more skill repetition. The priority is stopping the drowning process and getting the victim’s airways open and above the water’s surface.
Good luck and keep training.
