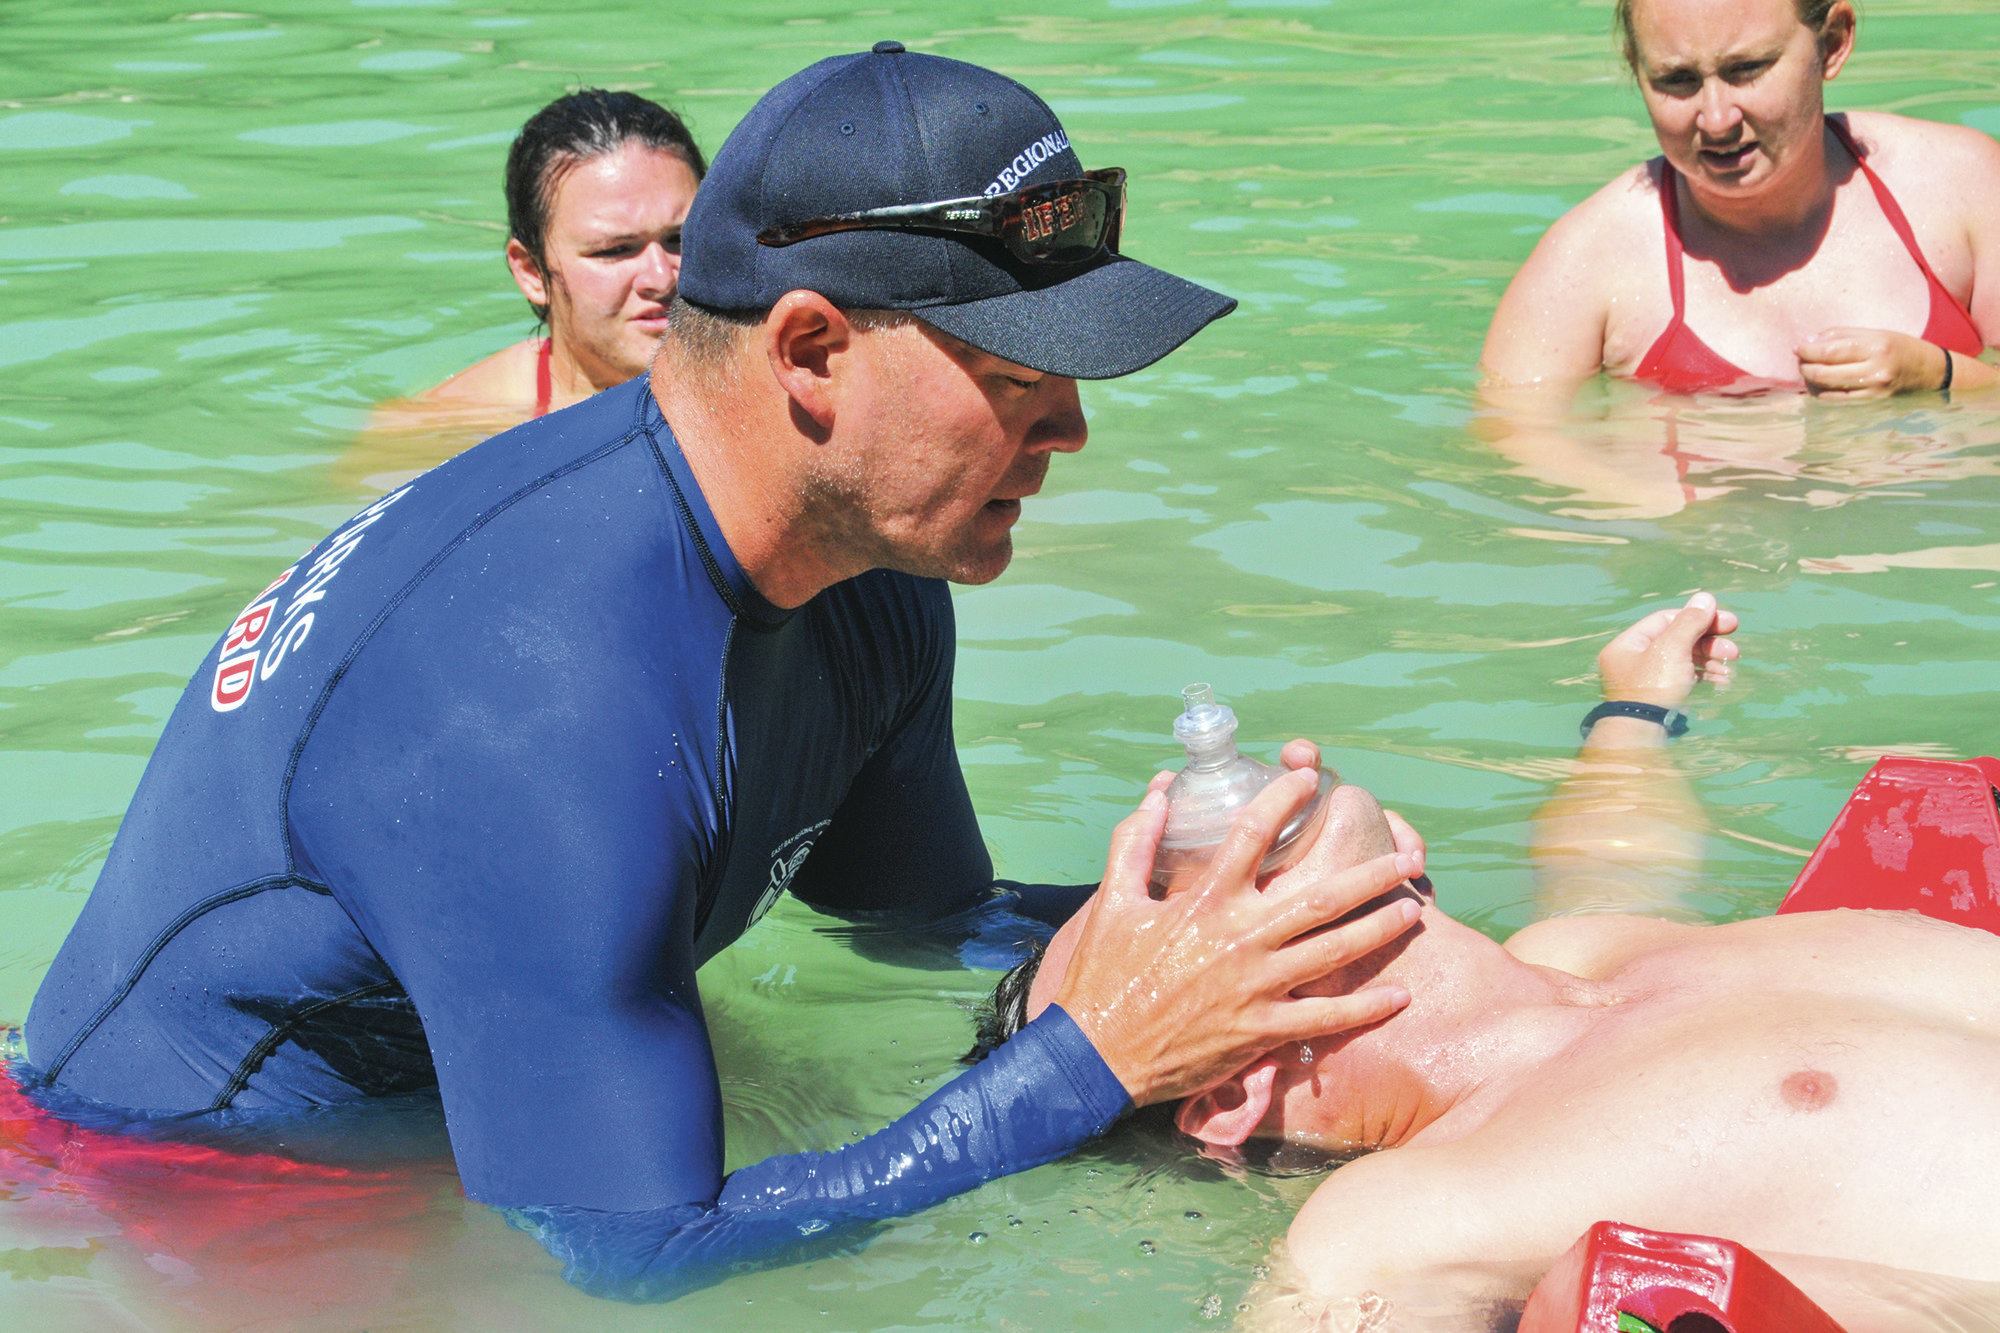
Get to the victim as quickly and safely as
possible,” is a phrase I use often in my in-services. I also use countdowns to motivate lifeguards to move faster.
You may ask, “Why?”
With new lifeguards, their speed probably was determined by the lifeguarding course they attended. It was the speed that their instructor accepted as “passable.” When it comes to veteran lifeguards, their speed likely was determined by what their supervisor deemed as “passable” when they conducted in-service sessions. “Passable” gets the lifeguard to the pool deck, but saving a life takes a lot more speed and coordination.
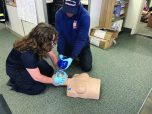
In-service training provides an opportunity to test, push, and expand the boundaries of our own skills and those of our teammates. Below are some drills to help lifeguards improve their speed and skill — which will have an immediate impact on the victim.
The following drills progress from rescuing the victim in water to providing care on land.
Contact with the victim drill: Pair up lifeguards, with one posing as the rescuer, the other the victim. The rescuer waits on the deck with a rescue tube, and the victim positions themselves in the water — 15 feet away in shallow water, facing the rescuer. (NOTE: Use the backstroke flags as a 15-foot marker). The victim is on the surface and active, and non-spinal.
Objective: Get to the victim as quickly and safely as possible.
Timing goal: 10 seconds. Once the lifeguard demonstrates proficiency at making contact with the victim at 10 seconds, begin to focus on:
Reducing the time allowance to make contact with the victim. Keep repeating the drill, shaving off 1 to 2 seconds at a time until the rescuer can make contact with the victim in 5 seconds.
This drill should a have rapid pace that allows very little time for the rescuer to get rest. The repetition allows the rescuer to make micro adjustments to their technique and get to the victim more quickly. Watch to see if the rescuer is so focused on form that their quickness suffers. Again, repetition of the drill allows the rescuer to test the limits.
Observe how the rescuer enters the water. Do they hold the equipment in a sloppy fashion? Is the equipment slowing the rescuer down because they’ve positioned it poorly in relation to their body — an example being not placing it under the armpits or torso, but in between or waffling between both areas.
Also check if the rescuer takes full advantage of the pool’s edge when entering from the deck. They should be increasing their distance from the jump to shorten their distance to the victim.
Repetition of the drill allows the rescuer to test their limits. Remember: Swimming through water takes more time than moving through the air.
When you feel comfortable with the proficiency of your lifeguards, move to these variations:
Victim is passive on the surface (same timing goal).
Victim is facing away (same timing goal).
Victim is passive submerged (same timing goal).
Extricate the victim drill: Three-person teams: one primary rescuer, one secondary rescuer, one victim. Rescuers stand on the deck with rescue tubes, and the victim is in the water 15 feet away, in shallow water, facing the rescuer. (NOTE: Use the backstroke flags as a 15-foot marker). Victim is on the surface, passive and non-spinal.
Objective: Get to the victim as quickly and safely as possible, and bring the victim to side of the pool.
Timing goal: 15 seconds. Once the lifeguard demonstrates proficiency at making contact with the victim at 10 seconds, begin to focus on the following:
Encourage the rescuer to become more efficient to reduce the time it takes them to get the victim to the side of the pool. Keep repeating the drill, shaving off 1 to 2 seconds until the rescuers can get their victims to the side of the pool in approximately 7 to 8 seconds.
If your rescuers reach proficiency at this point, consider having two groups join together (up to five to six rescuers for one victim) and perform the same extrication drill. The immediate challenge when joining two groups will be too much discussion within the team about what to do, and less trial-and-error action. Advocate for more trial and error.
Also suggest to the rescuers that they reduce the amount of equipment they take on the drill. You’ll notice that the additional rescue tubes often get in the way and slow down the extrication process.
Monitor the rescuers’ speed in completing the extrication drill.
It’s common to see that the rescuers unknowingly compromise the victim’s safety by allowing the victim’s airways to remain underwater or accidently letting their head hit the side of the pool. Emphasize safety throughout this drill.
When you feel comfortable with the proficiency of your lifeguards, move to these variations:
Rescuers enter from the deck (same timing goal).
Victim is face down on the surface (same timing goal).
Victim is passive submerged (same timing goal).
Mistakes to look for
As the trainer, your critical eye is needed so participants don’t make a mistake that could cause delays or otherwise compromise care. Here are some errors you might see:
The lifeguard fails to get the victim’s airways above the surface of the water during the rescue or extrication.
The lifeguard has improper rescue tube placement to support the victim.
The second lifeguard fails to arrive on time to assist the first lifeguard in extrication, and time is lost.
During the team extrication, the rescuers fail to synchronize their stroke to make the extrication efficient.
As the trainer, to make the 30-minute in-service compact and effective, plan on using the best setting at your facility to run this in-service. Make sure you have enough equipment and water space and variable depths for your lifeguards to test and expand their skills.
Remember less talk and more skill repetition. Your job is to get your lifeguard team rescue-ready.
Good luck and keep training.