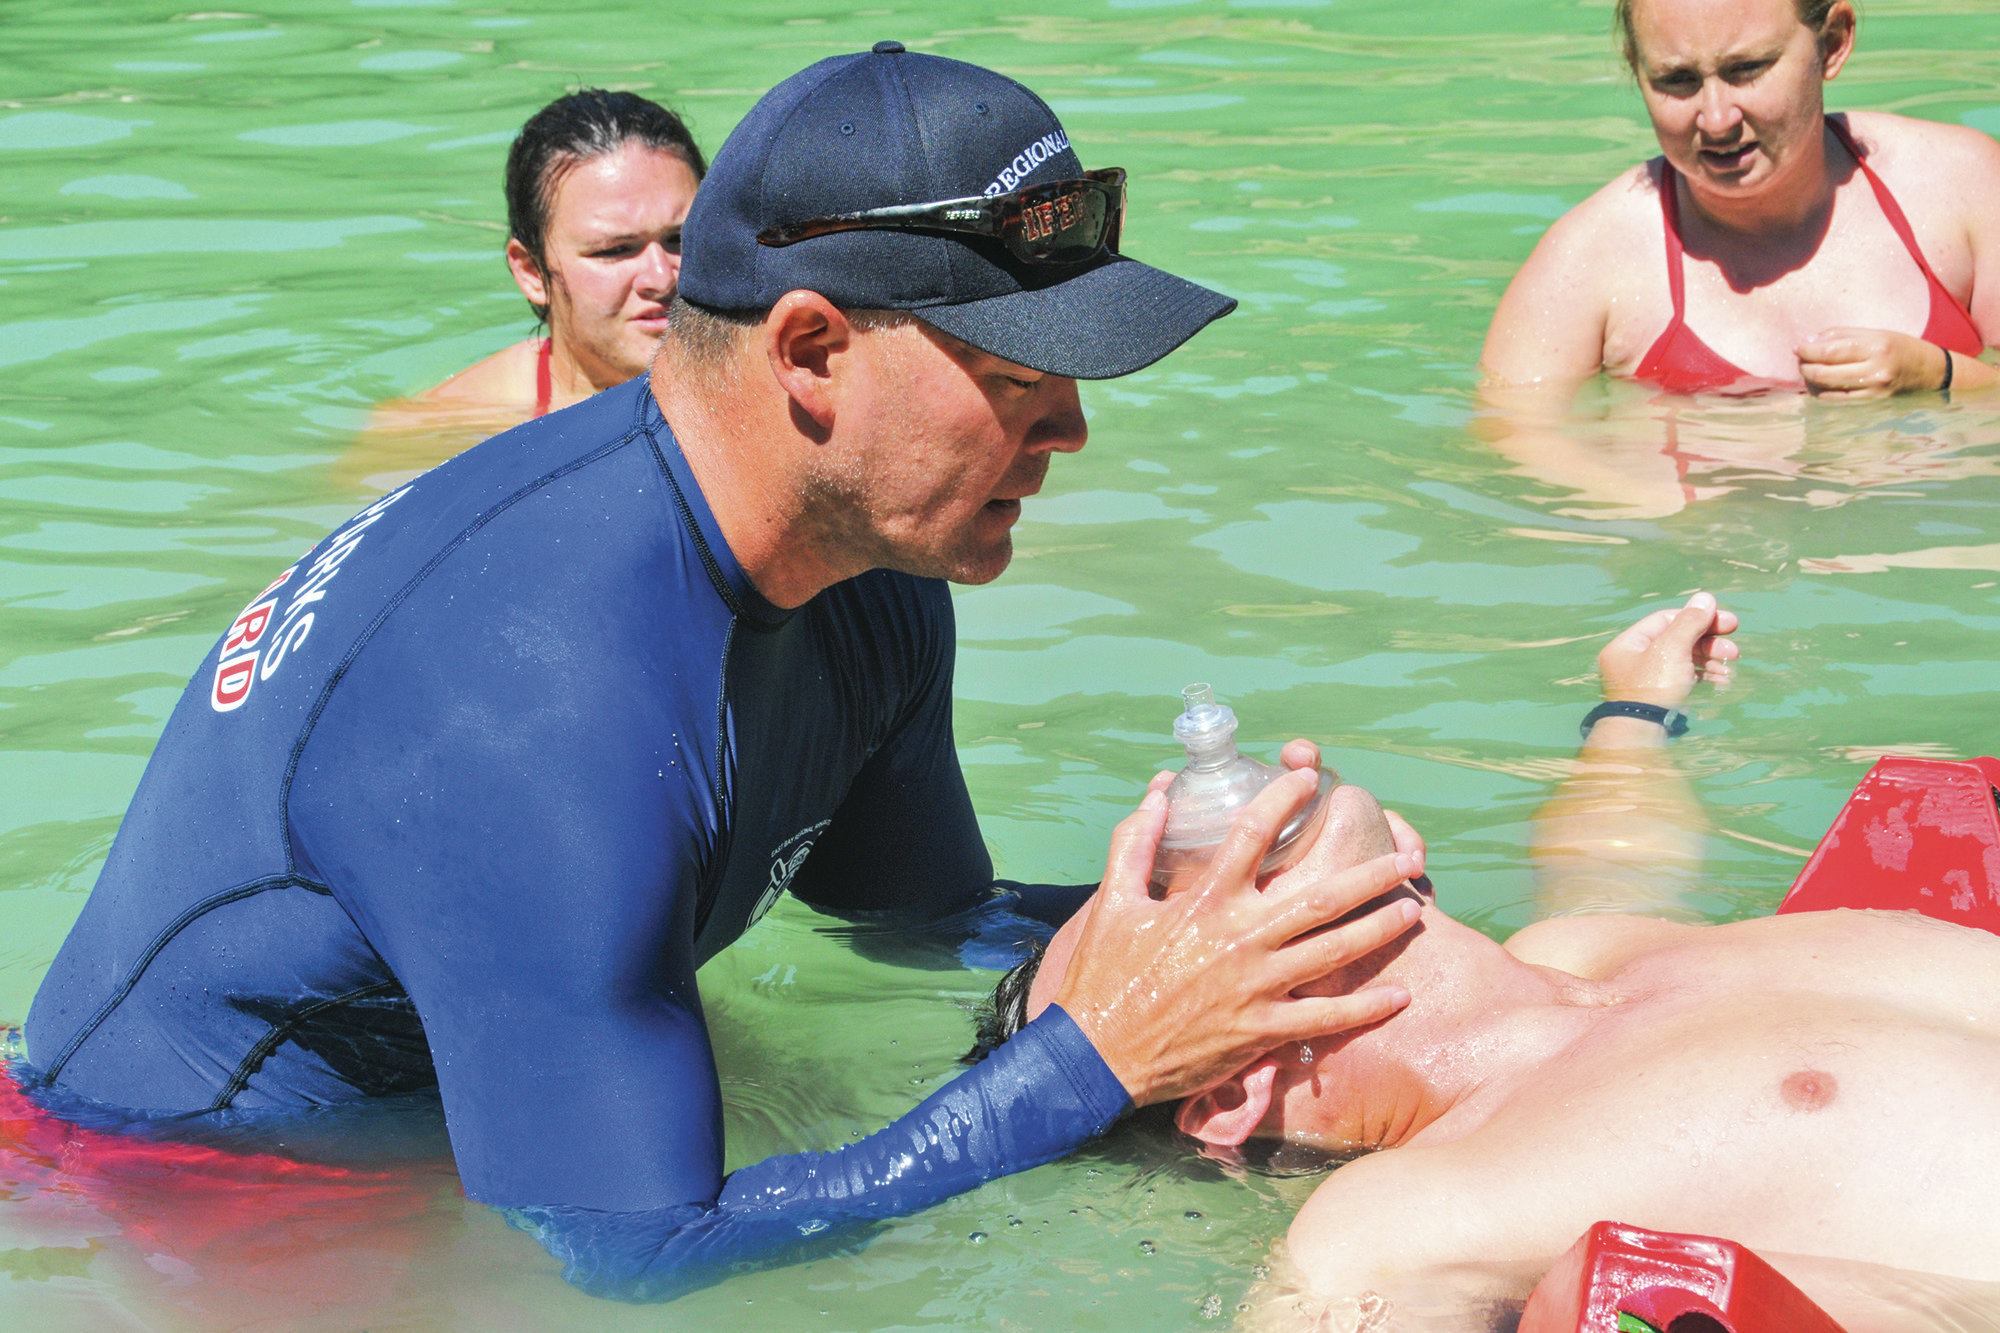
In the years that I’ve written about training lifeguards to be better at rescues, CPR, scenarios, and multi-rescuer responses, I haven’t covered how the public also can perform drills to develop water-safety skills.
You might ask which public I am referring to. Any school group, team (such as swimming or water polo), church group, reservation group or community-based organization can participate in water safety drills to reduce their risk of drowning. How does this work? Groups could request training, like Scouts preparing for a white water rafting trip, or a church group getting ready for their first kayaking trip. Your agency also could extend an invitation to local childcare centers or head start for the parents or employees. The drills also can be offered as a water-safety training component to rec camps that are visiting your site for the day.
Let’s go over an essential piece of rescue equipment that is available and accessible to the public: life jackets.
Life jackets: Donning
Life jackets are an integral part of water safety, yet most members of the public do not know how to properly measure the correct size for themselves or how to effectively don a life jacket.
Most members of the public experience what a life jacket is and how to use it through the safety talks given by flight attendants, as part of cruise-ship orientation, or in preparation for a recreational boating trip or ferry passage. That is not much.
Take the time to orient your participants on how to correctly choose their life jacket based on their size and water activity. Make sure to point out that participants should be using only a Coast Guard-approved life jacket and help them identify where it says “Coast Guard Approved” on the life jacket.
Once you’ve assisted your participant on selecting the proper life jacket, take the time to show how to correctly don the life jacket, how to check themselves and others (their buddy, or family member) on how to verify that the life jacket is donned correctly and is snug.
DONNING A LIFE JACKET DRILL: Each participant should be holding a life jacket. Life jackets all should have the buckles unclipped with the body straps fully extended, ready to be tightened.
Objective: Correctly don the life jacket
Timing goal: 30 seconds.
Once participants demonstrate proficiency, move through the progression below:
– Don the life jacket. (Reduce the timing goal to 15 seconds)
– Don the life jacket: Life jacket is on the ground, and participants must pick it up and quickly don it. (30 seconds)
– Don the life jacket: Life jacket is on the ground 10 feet away, and participants must pick it up and quickly don it. (30 seconds)
– Don the life jacket with eyes closed. (30 seconds)
– Don the life jacket while fully clothed. This can include a winter jacket. (30 seconds)
– Pair up participants, don the life jacket, and perform a buddy check on your partner to verify the life jacket is donned correctly. (30 seconds)
– Pair up participants. Participants will don the life jacket on their partners, one at a time, verifying that the life jackets are donned correctly. (60 seconds)
Life Jackets: Entry & exit
Once participants are proficient at donning their life jackets, provide an orientation on how to safely enter the water.
Training on entry should include the following scenarios, if possible: from a zero-depth edge (to simulate a shoreline), from the side of a pool, and from a floating object such as a boat or dock.
When jumping in from the pool’s edge, a dock or boat into shallow or deep water, it’s important to show participants proper placement of arms and legs when entering the water, to avoid injury and loss of eye wear. Make sure to demonstrate and explain how to jump slightly leaning forward, away from the edge, to avoid injury to the back of the head due to accidental contact with the edge.
Once participants have entered the water and resurfaced, make sure you encourage them to move any hair out of their eyes so they can see.
Along with training how to effectively and safely enter the water, you must also demonstrate how to exit the water. If this training takes place at a pool, have participants start by using either the ladder or the steps. Once participants have shown their proficiency at exiting via ladder or steps, transition and train them on how to exit the water from the side of the pool. This sounds easy, but exiting a pool while wearing a life jacket can be difficult, especially if your pool has a high edge.
ENTRY/EXIT DRILL: Each participant is in a life jacket. Participants are positioned 10 feet from a ladder or step.
Objective: Quickly and safely enter the water, resurface, move to the ladder and safely exit the water.
Timing goal: 30 seconds. Once participants have demonstrated proficiency, move through the following progression:
– Exit from the side of the pool; (30 seconds)
– Safe entry from a height; (starting block/diving board). (30 seconds)
– Fully clothed, entry and exit; (30 seconds)
– Fully clothed with shoes, entry and exit; (30 seconds)
– For groups (2-20 participants), staggered entry: Form a group in the water, making sure to avoid jumping on each other. Once the entire group is in the water, then make a staggered exit. Make sure all participants have left the water.
– For groups, simultaneous entry: Enter the water, safely spaced on deck to avoid injury — one arm’s length should be enough. Form a group circle in the water, then have the participants break away from the group circle and exit the water. The scenario ends when all participants have exited.
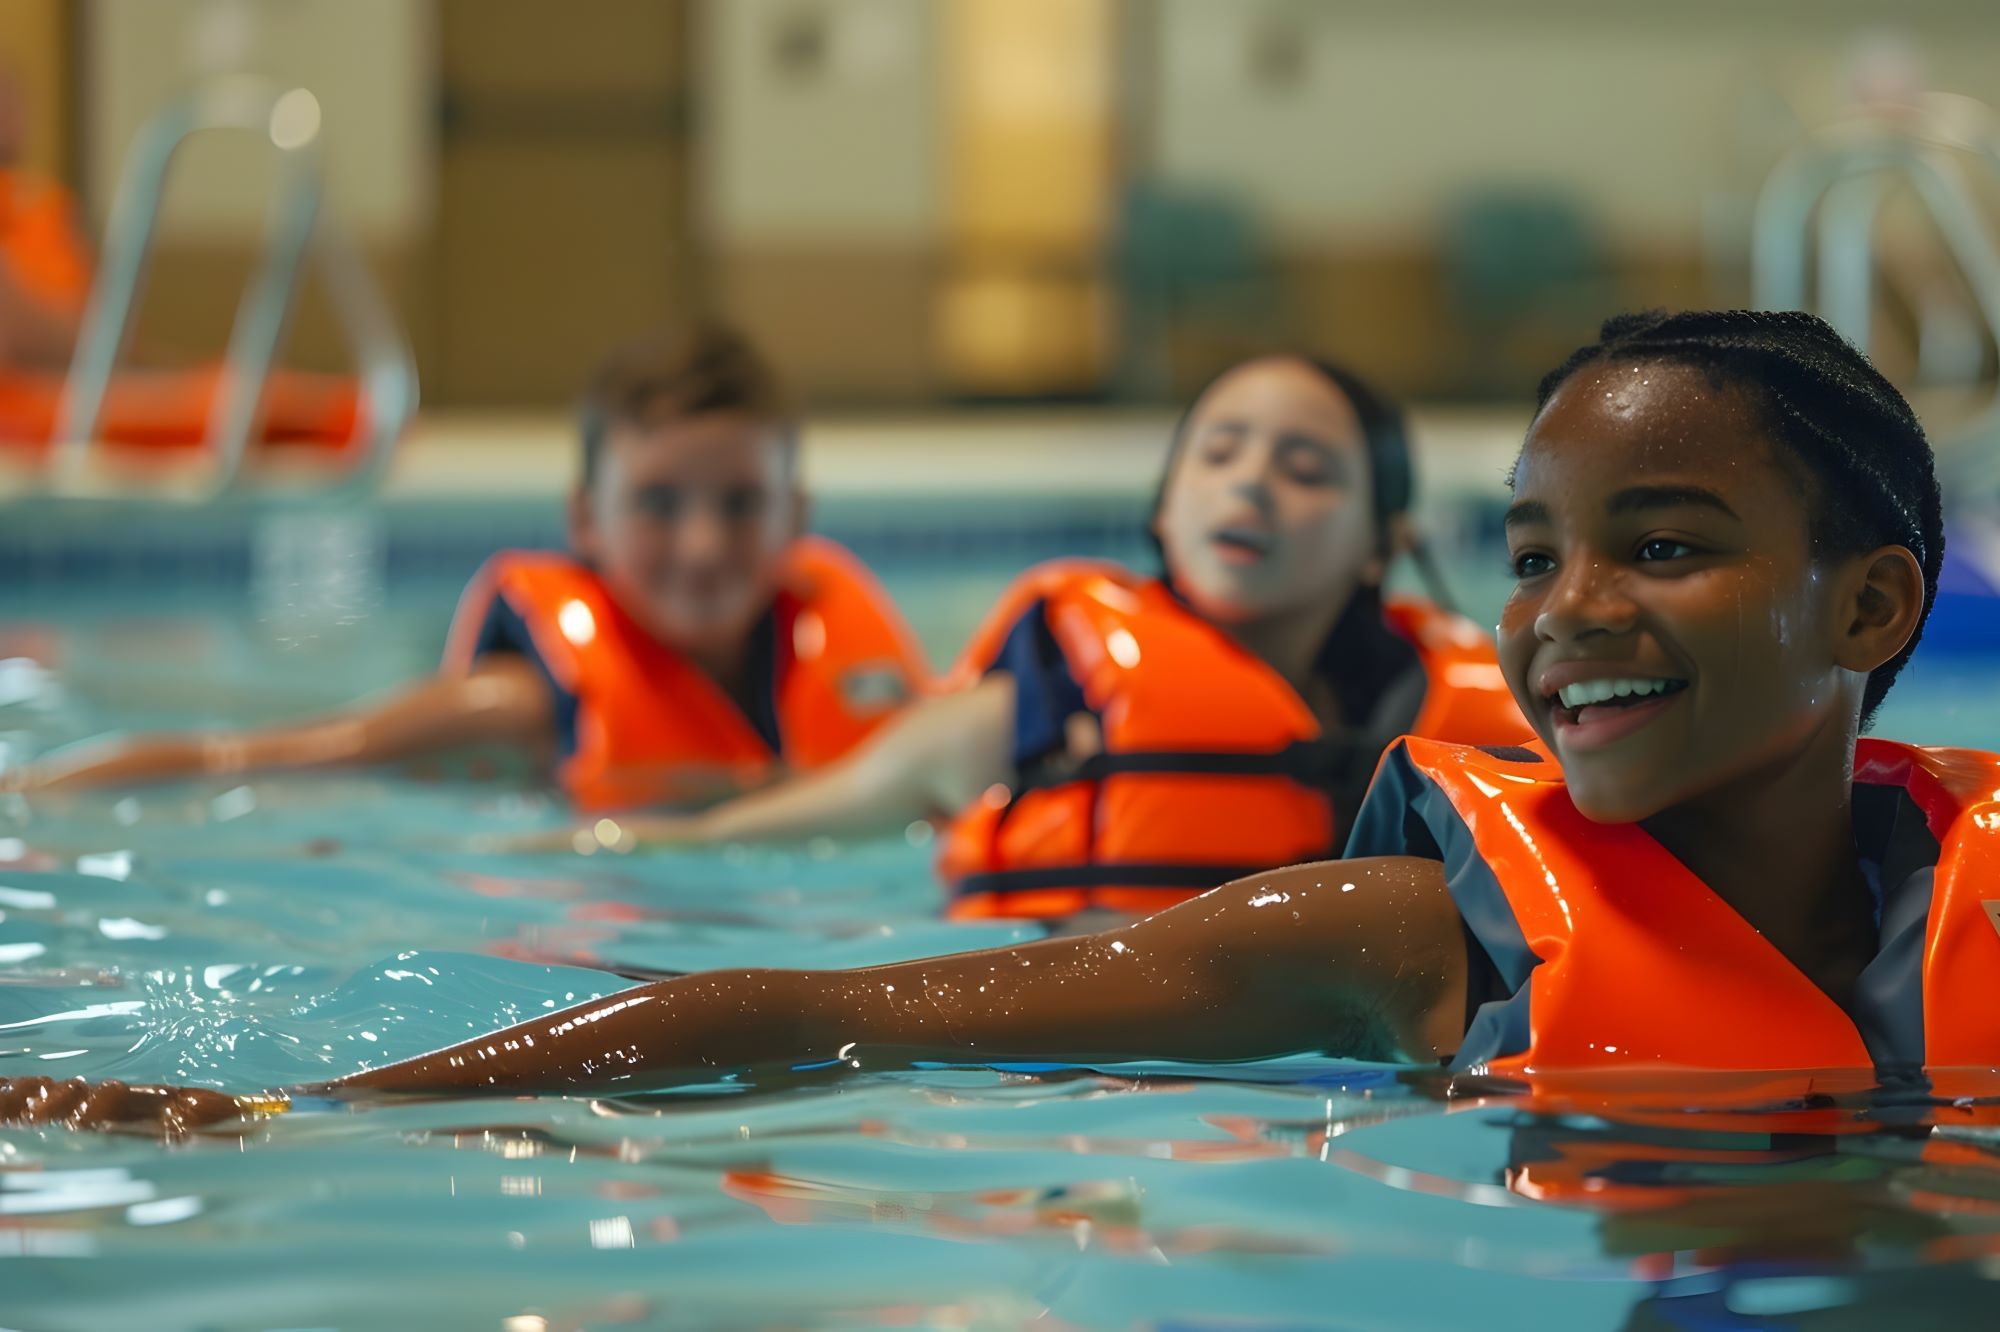
Life jacket: Movement and floating
It is crucial to train your participants on how to effectively move in the water while wearing a life jacket.
Movement in water while wearing a life jacket should be easy and smooth with minimal splashing. Teach your participants how to move through the water on both their backs and stomachs. This includes forward movement and changing directions.
The next skill that should be covered is how to float in both a vertical and horizontal position. Floating in a vertical position allows the participant to look around, while floating in a horizontal position allows the participant to rest and reserve energy.
Teach the Heat Escape Lessening Position (HELP) and the Huddle position. Reserving energy will be critical in an emergency where one cannot exit the water immediately.
HELP/HUDDLE DRILL: Each participant is in a life jacket. As the participants enter the water, the instructor will call out either, “Help” or “Huddle.”
Objective: Participants will enter the water and get into the correct position.
Timing goal: 30 seconds after the last participant enters the water.
Providing drills to the public strengthens participants’ ability to remain safe in the water. Adding time limits in your drills hard wires your participants to act in a time of emergency.
Remember what they learn from you and the team could save them when they are on their own: vacation, a boating trip, fishing, rafting, kayaking, etc.
Good luck and keep training.